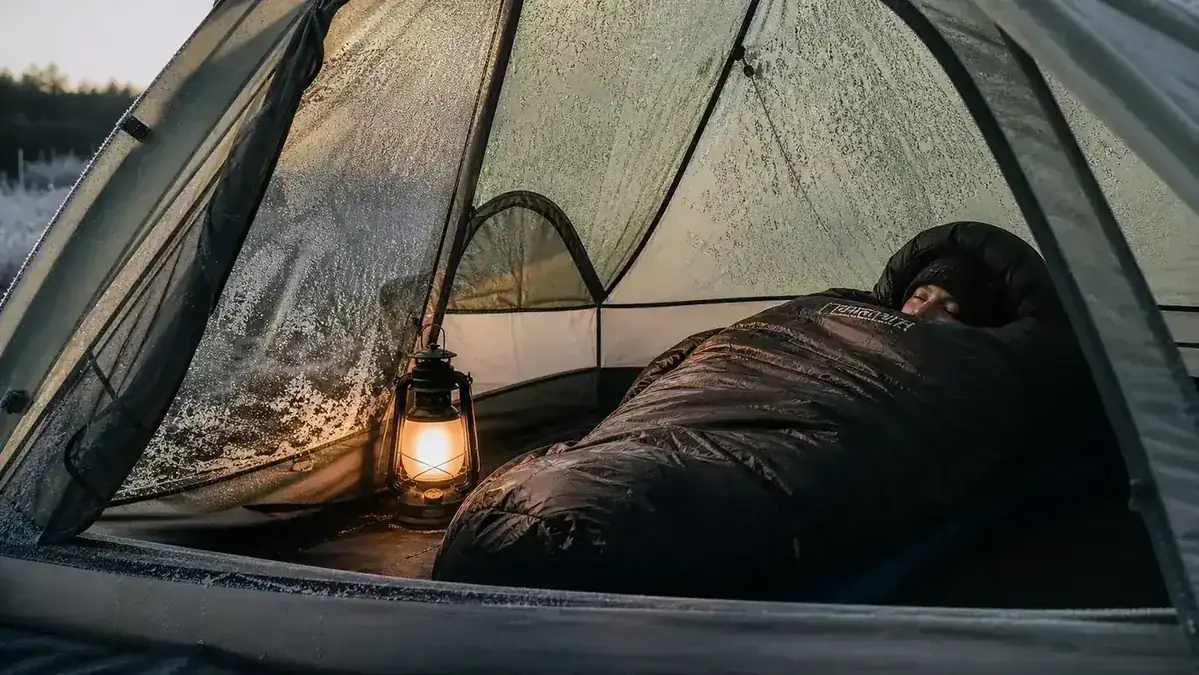
The most miserable camping night I ever had cost me zero dollars. I had a tent, a pad, and a sleeping bag rated to 35 degrees. What I did not have was a plan for the fact that the temperature dropped to 18 degrees by 3am at the base of the Ouachita Mountains in November 2018. I woke up shaking, wearing everything I had packed, still cold. That night taught me something I have been refining ever since: staying warm is not about having the most expensive gear. It is about doing several simple things correctly, in the right order, before you ever get in the bag.
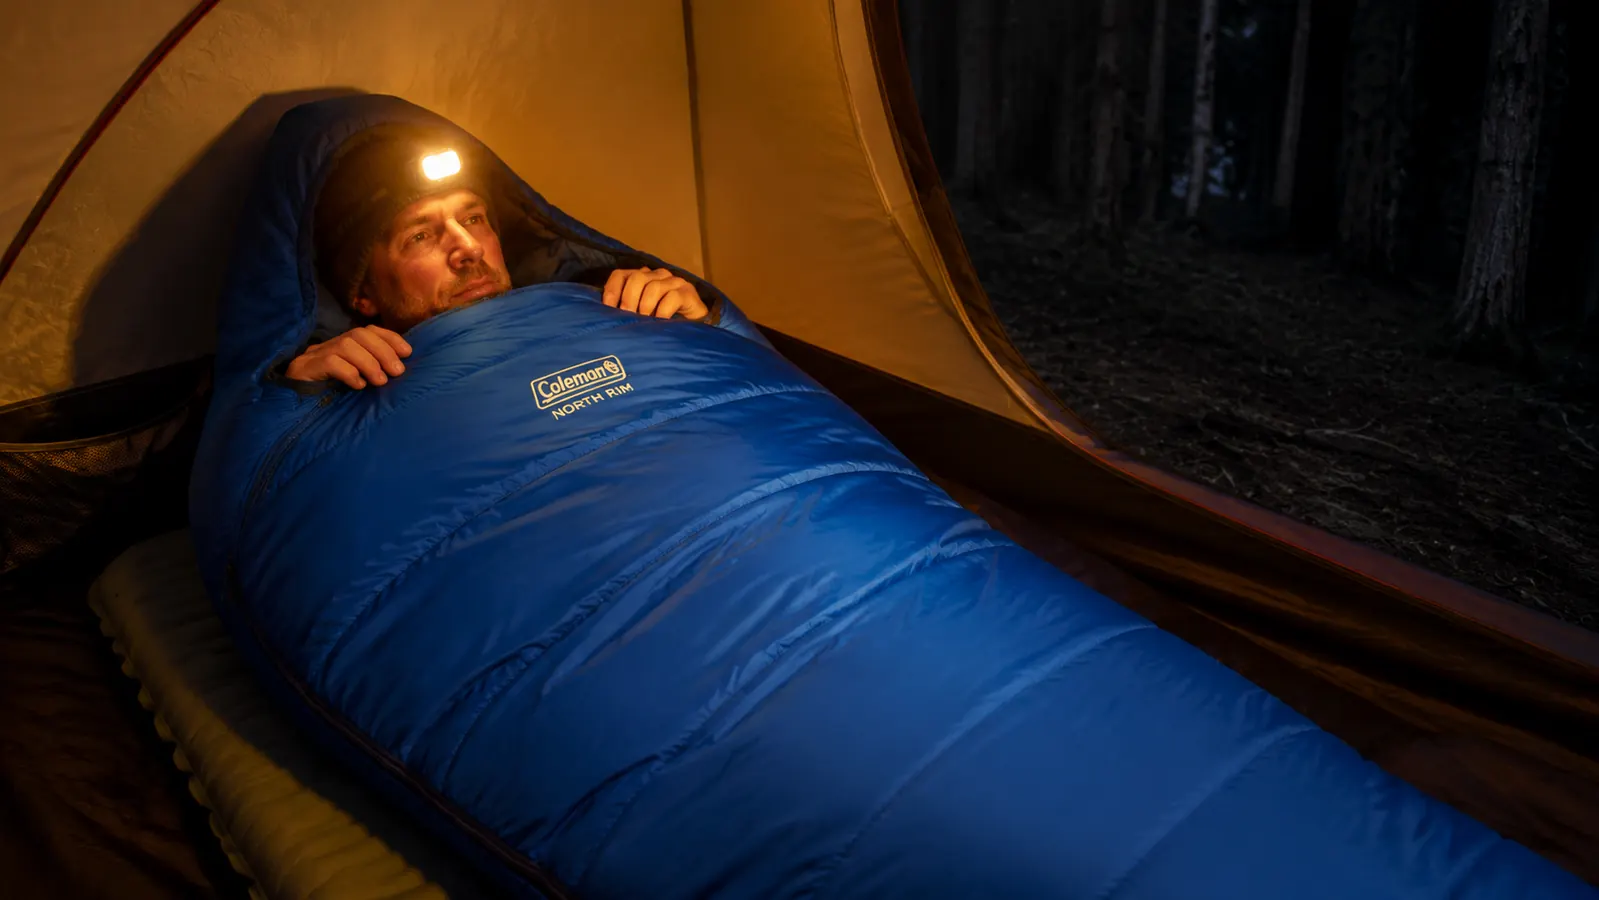
The Coleman North Rim 0-degree mummy bag is the anchor of my cold-weather sleep system. It has carried me through three winters of trips ranging from 28 degrees to single digits, and it has not let me down once. But the bag alone is not enough. There is a full system around it, and that is what this guide covers. Follow these five steps and you will sleep warm, even when the thermometer is working against you.
If you are heading into cold weather, your bag needs a real temperature rating, not a guess.
The Coleman North Rim is rated to 0 degrees Fahrenheit, uses a mummy cut to lock in body heat, and consistently earns strong marks from campers who actually use it below freezing. Check the current price on Amazon before your next trip.
Amazon Check Today's Price on Amazon →Step 1: Choose a Sleeping Bag Rated 10 to 15 Degrees Below Your Expected Low
Step 1: Match Your Bag Rating to the Real Temperature, Not the Forecast High
Temperature ratings on sleeping bags reflect the lowest temperature at which a quote-unquote average sleeper will survive the night, not necessarily sleep comfortably. If your campsite forecast low is 25 degrees, a 25-degree bag is not enough for most people. You want a bag rated to 10 or 15 degrees. That buffer is where comfort lives.
The Coleman North Rim 0-degree bag covers a wide range of cold-weather camping. Rated to 0 degrees Fahrenheit, it gives you a large safety margin for typical three-season cold-weather trips in the 20-to-35-degree range, and it stays viable on truly frigid nights in the low teens. The mummy cut is not optional for serious cold-weather use. Rectangular bags bleed heat from the top and sides because they leave air pockets that your body has to keep warming all night. A mummy bag cinches at the shoulders and hood, minimizing that dead airspace. I have camped in both. There is no comparison.
One more point on bags: fill material matters. Down compresses better and runs lighter, but it loses almost all insulating ability when wet. Synthetic fill, like what the North Rim uses, keeps warming you even when it gets damp from condensation or a wet sleeping pad. For most car-campers and casual backpackers who are not obsessing over pack weight, synthetic is the right call for cold and wet conditions.
Step 2: Insulate From Below First, Then Worry About What's Above You
Step 2: Use a Sleeping Pad With an R-Value of 4 or Higher
Cold ground pulls heat out of your body faster than cold air does. This surprises most new campers, who assume the bag handles everything. Your sleeping pad is your thermal break between your body and the ground, and it is measured by R-value. An R-value of 1 or 2 is fine for summer. For cold-weather camping below 30 degrees, you want a minimum R-value of 4. Below 20 degrees, stack two pads or use a foam pad under an inflatable for an R-value above 6.
I learned this lesson the hard way on a February trip in the Ozarks. I had the North Rim, I was wearing base layers, but I had brought a cheap inflatable with an R-value of 2. By midnight my hips and shoulders were cold to the bone. The bag was doing its job. The pad was not. I now keep a closed-cell foam pad in my truck kit year-round as a backup layer. It adds almost nothing in weight or volume and has saved me on three separate trips.
Step 3: Layer Your Sleep Clothing Correctly
Step 3: Wear a Merino Wool or Synthetic Base Layer to Bed, Not Cotton
Cotton kills. That sounds dramatic, but it is the principle every cold-weather camper needs to internalize. Cotton absorbs sweat and holds it against your skin, which cools you down rapidly once you stop moving. In your sleeping bag, that moisture stays trapped and the bag cannot compensate for it. For sleep clothing, wear a merino wool or synthetic base layer, top and bottom. Merino regulates temperature well, handles odor across multiple nights, and stays functional even when slightly damp.
My cold-weather sleep kit is a merino wool long-sleeve crew, merino wool bottoms, thin wool or synthetic hiking socks, and a lightweight beanie. The beanie matters more than people think. A significant portion of heat loss happens through your head, and the North Rim's hood helps, but a hat under the hood adds another measurable layer. I also keep a pair of thin liner gloves in my bag pocket for nights that drop below 15 degrees.
A note on wearing too much: if you overheat in your bag, you will sweat, and that moisture will work against you by the second half of the night. Start with the right base layer and let the bag do the work. If you are reliably waking up overheated in 25-degree temps, peel off a layer before bed rather than fighting it all night.
Step 4: Manage Moisture Inside Your Tent
Step 4: Ventilate Your Tent Even When It Is Cold Outside
Every breath you take inside a tent releases moisture into the air. Multiply that by six hours of sleep and you get significant condensation on the tent walls, the ceiling, and eventually the top of your sleeping bag. Once that condensation drips onto your bag's fill, the insulation in those spots becomes less effective. The fix is counterintuitive: crack your vents, even on cold nights.
Most quality three-season and four-season tents have vents at the top and near the base that allow air to circulate without letting rain in. Even cracking the top vent an inch dramatically reduces interior condensation. I also make a habit of shaking out my sleeping bag each morning to release accumulated moisture and letting it air for at least 20 minutes before stuffing it back in the sack. On multi-night trips, this keeps the fill lofted and the bag performing consistently.
The bag is only half the system. Cold ground, damp air, and the wrong clothing cancel out even the best 0-degree rating.
Step 5: Fuel Your Body Before You Sleep
Step 5: Eat a Warm, Calorie-Dense Snack 30 Minutes Before Getting in Your Bag
Your body generates heat by burning calories. If you have not eaten since dinner at 6pm and you crawl into your bag at 10pm, your metabolic heat output is low. A small snack 30 minutes before sleep, specifically something with fat and slow-burning carbohydrates, gives your body fuel to keep your core temperature up through the night. I usually eat a handful of mixed nuts and a piece of dark chocolate, or a small amount of peanut butter on a tortilla. Simple, dense, and effective.
Hot water in a wide-mouth Nalgene bottle also earns a spot in this system. Boil water before bed, pour it in a sealed Nalgene, wrap it in a wool sock, and put it in the foot of your sleeping bag. It stays warm for three to four hours and directly heats the coldest zone of the bag, the foot box, which many sleepers struggle with most. I started doing this on a trip in January 2021 and it is now a non-negotiable part of my winter camp kit.
Avoid alcohol before sleeping in the cold. It feels warming initially but causes vasodilation, which pushes blood to the skin's surface and actually increases heat loss. The net effect is a colder core, not a warmer one. I know that is not what you want to hear on a camping trip, but the physiology is clear.
What Else Helps
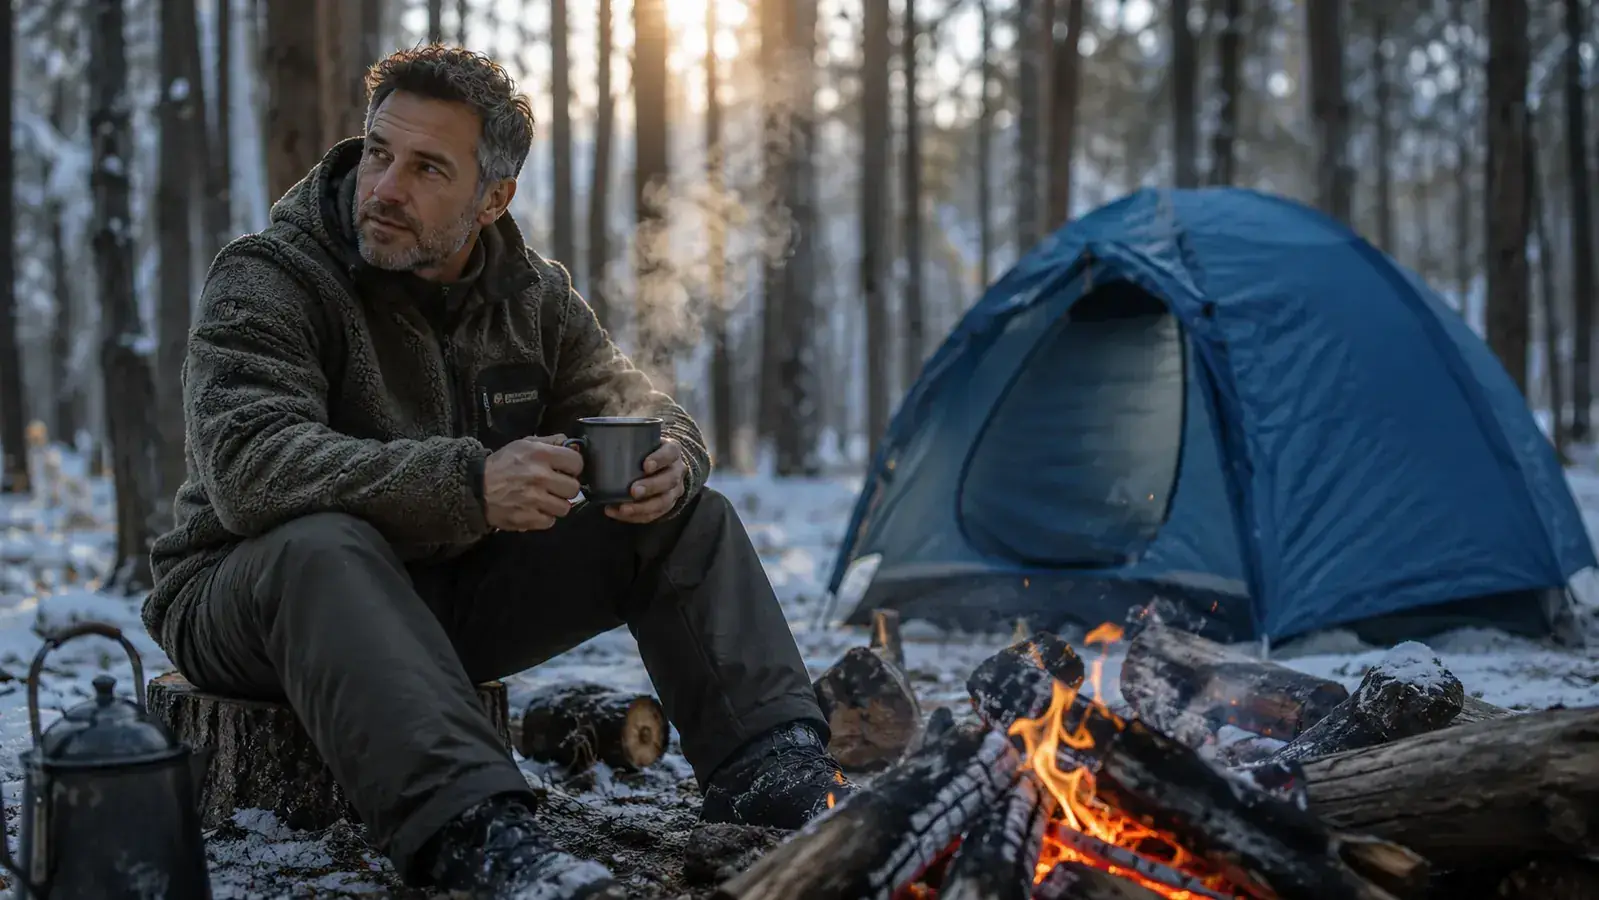
Beyond the five core steps, a few additional habits separate comfortable cold-weather camping from just surviving it. First, do your campsite chores before the temperature drops hard. Gathering wood, setting up gear, and cooking all generate body heat. Getting into your tent while you are still warm from activity means your bag starts the night at a higher baseline temperature. Second, keep tomorrow's clothing inside the bag with you at your feet. Pulling on cold clothes in the morning is an unpleasant shock to the system and a poor start to a cold-weather day. Third, keep a headlamp and a water bottle inside the bag where they will not freeze solid overnight.
If you consistently sleep cold regardless of what you do, also check the hood cinch on your sleeping bag. The North Rim has a drawstring hood that can be cinched down to expose only your nose and mouth. Most campers leave it too loose. A properly cinched hood keeps your head and neck inside the insulated envelope, which makes a bigger difference than almost any other single adjustment you can make on a cold night.
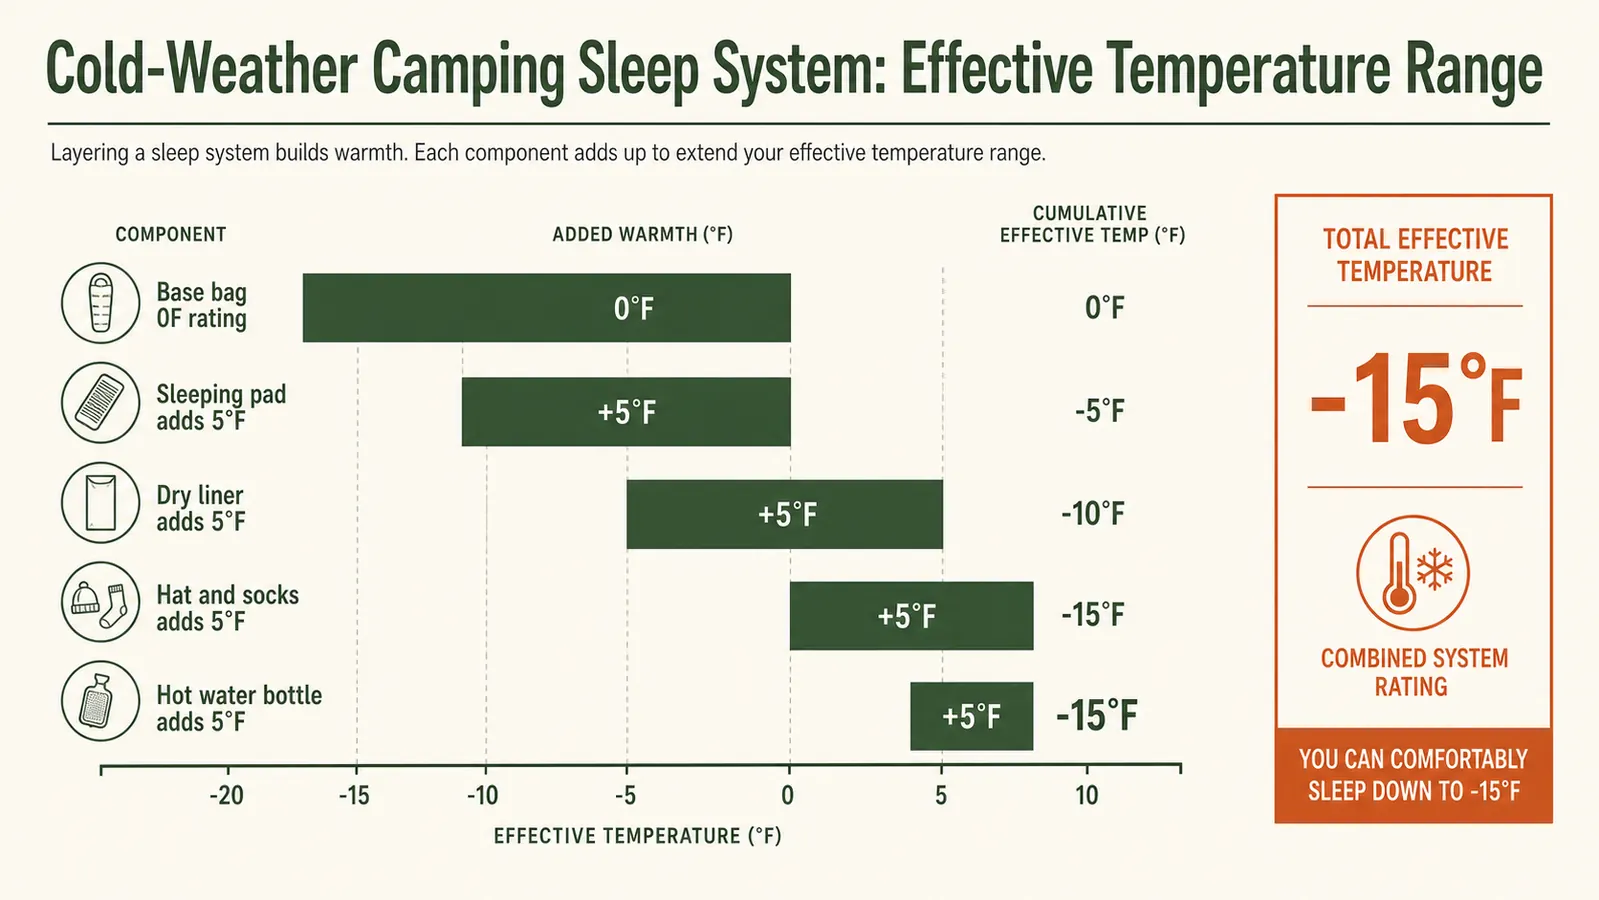
For those camping below 10 degrees or above treeline in winter conditions, this system still applies but you will want to add a four-season tent rated for snow load and wind, a vapor barrier liner inside your bag to prevent moisture migration into the fill, and possibly a down or synthetic sleeping bag liner for an additional 10 to 15 degrees of warmth. The North Rim handles most situations campers encounter below freezing, but extreme cold demands extreme preparation.
The Coleman North Rim 0-Degree is the bag I trust when the temperature gets serious.
Three winters of field testing at temperatures ranging from the upper 20s to single digits. Synthetic fill that keeps insulating even when conditions get damp. A mummy cut that actually cinches down. If cold-weather camping is on your calendar, check today's price on Amazon and see if it fits your budget.
Amazon Check Today's Price on Amazon →