I have pulled into a campsite at 9pm with tired kids in the backseat, a site map I could barely read in the headlights, and a Coleman Sundome I needed standing in under ten minutes. I have also shown up at a trailhead in the rain where the whole group was watching me like I was supposed to have this handled. After more than 40 weekends with this tent, I do. And I want to walk you through the exact sequence I use, start to finish, so your first pitch goes smooth and every pitch after that goes faster.
Most new campers take 30 to 45 minutes to set up a tent the first time because they skip prep, fight the poles, and stake at the wrong moment. The Coleman Sundome is genuinely one of the fastest tents to pitch on the market, rated for a 10-minute setup even by the manufacturer. With a little method behind it, you can hit that number on your first try. This guide gives you that method, step by step.
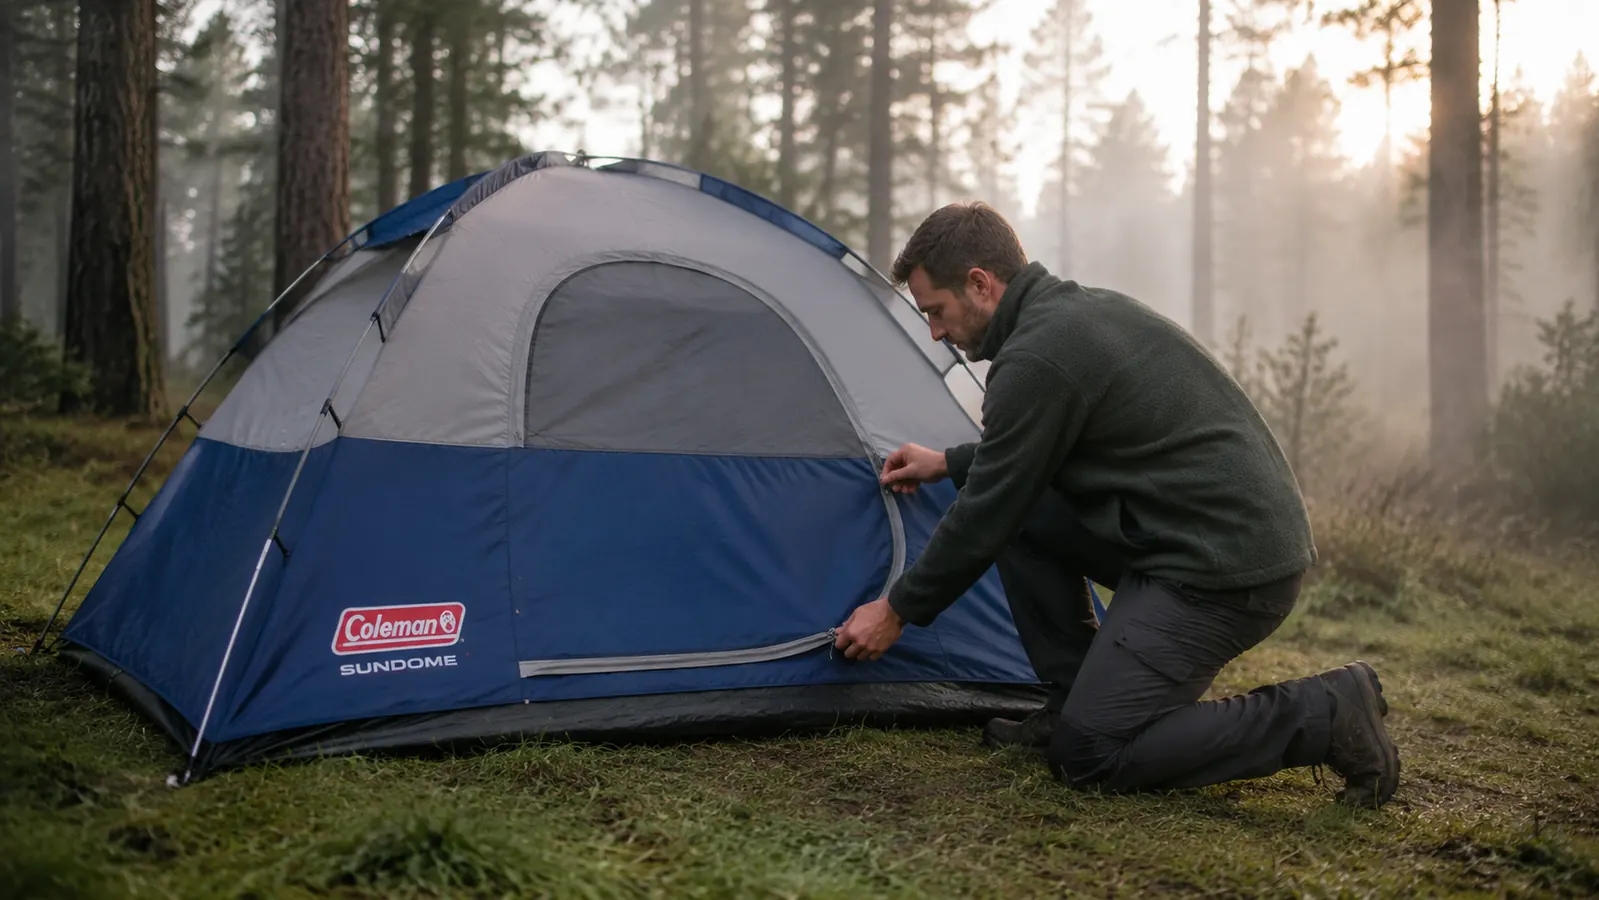
If you do not have a tent yet, the Coleman Sundome is the one I recommend for beginners.
It is the tent I have pitched more than any other, and the one I point every new camper toward. Straightforward poles, solid WeatherTec floor seams, and a rainfly that covers what it needs to cover.
Amazon Check Today's Price on Amazon →Before You Leave Home: The Pre-Trip Setup
The single best thing you can do to speed up your campsite setup is to do a dry run in the backyard before your first trip. Pull everything out of the bag on your lawn, assemble it once in daylight with no time pressure, then pack it back up. You will immediately understand how the poles connect, which color-coded tips match which grommets, and how the rainfly drapes. That 20 minutes at home saves you 40 minutes of fumbling in the dark.
Also, repack the Sundome in a way that makes sense to you. The tent body, the poles, the stakes, and the rainfly each have their own stuff sack or section of the carry bag. If you always load them in the same order, you can pull them out in reverse order at camp and have everything at hand in the right sequence. Little habit, big payoff at dusk.
Step 1: Pick Your Spot and Clear the Ground
Set your tent up before you do anything else at camp. Not after you build the fire. Not after you grab a drink. Before. Your camp experience depends on how well you slept, and how well you slept depends on where your tent is sitting. Take 90 seconds to walk the site. Look for a flat patch with no root humps or rocks underneath. A slight slope is fine if your head will be uphill. Avoid the lowest spot in the site because that is where water pools when it rains.
Once you find the spot, kick away any sticks, pine cones, or sharp debris in the footprint area. The Sundome's floor is a polyethylene tub construction with taped seams, and it holds up well, but there is no reason to stress it against a sharp rock all night. A groundsheet or footprint underneath adds extra protection and keeps the tent floor cleaner, especially on gritty sites.
Orient the door so it faces the direction you want. Most of the time that means facing away from the prevailing wind and toward your fire ring or camp table. With the Sundome's E-port on the back wall, you will also want to think about where your power cable will run if you are using it.
Step 2: Lay Out the Tent Body and Sort Your Poles
Spread the tent body flat on your cleared spot. Make sure the floor is oriented the way you want before you start doing anything with poles, because once the poles are in you will not want to flip it around. Give the body a quick shake to make sure it is not folded under itself.
Now pull out the poles. The Coleman Sundome uses two fiberglass shock-corded poles for the main dome frame. They will be in sections connected by internal elastic cord. Let them self-assemble by holding one end and letting the sections snap together. The Sundome 4-person also includes a third shorter pole that runs across the front door area to create the awning-style vestibule. Keep them sorted so you know which is which before you start threading.
Do not bend the fiberglass poles tightly or store them bent. Always let them extend naturally and curve into the tent arc under light tension, not force. Fiberglass splinters if you kink it. The shock cord keeps everything aligned as long as you let it do its job.

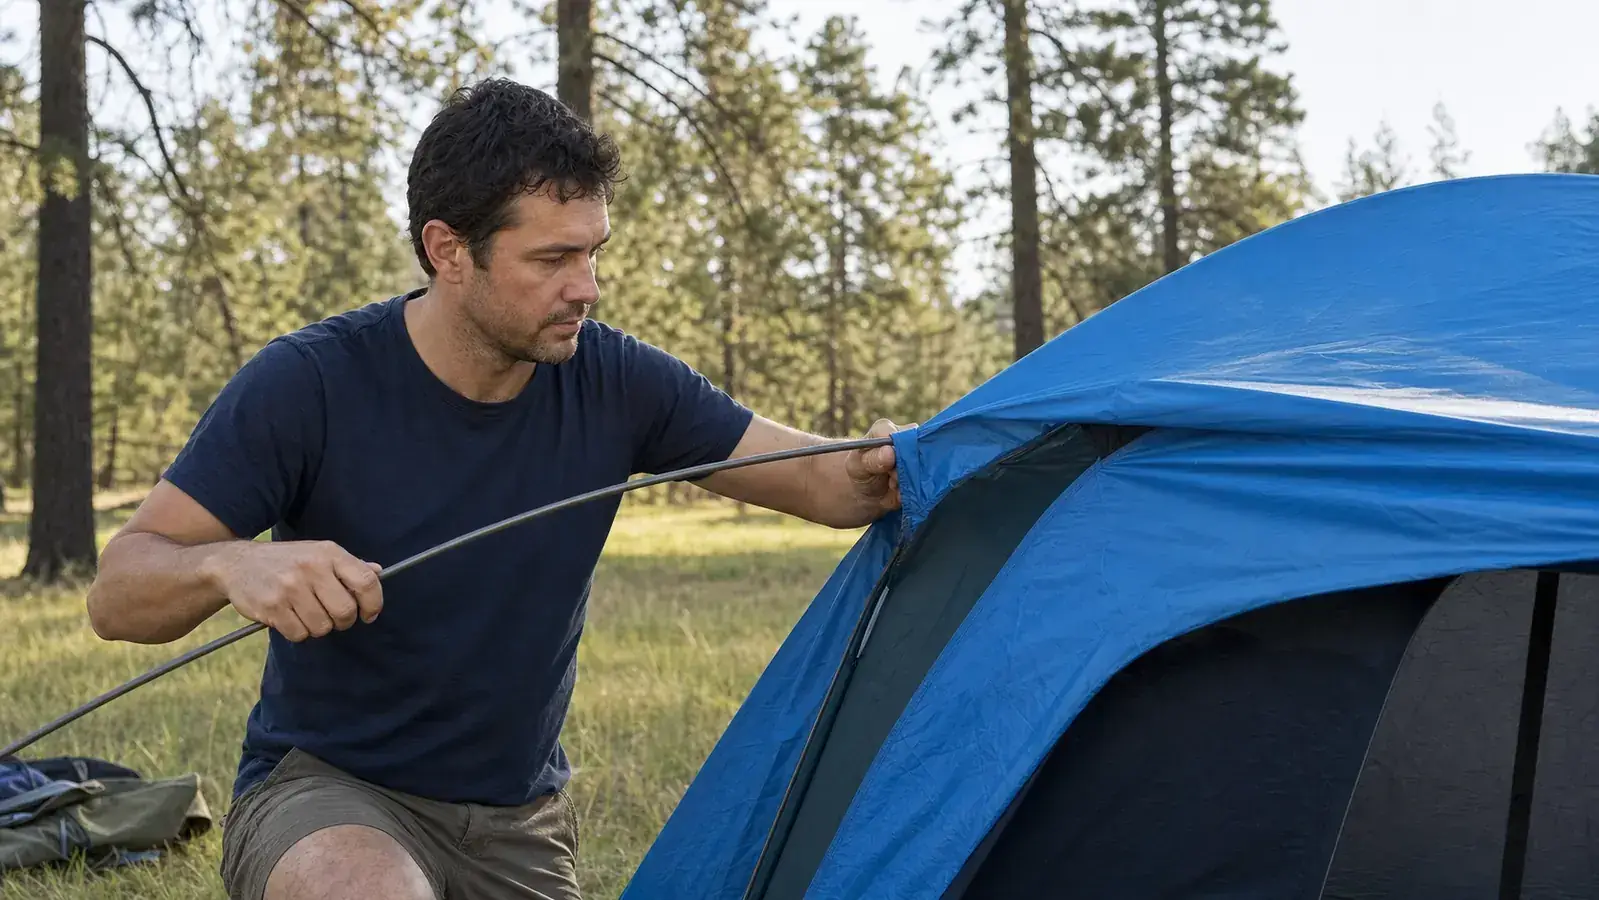
Step 3: Thread the Poles and Raise the Dome
The Sundome uses a sleeve-and-pin system. The two main poles each run through a fabric sleeve sewn into the tent body, crossing at the top where a clip or pin holds them at the apex. Feed each pole through its sleeve from one end to the other. This goes faster than you expect because the sleeves are sized for the poles and the shock cord keeps the sections from pulling back as you push.
Once both poles are threaded, place the pole tips into the metal grommets at each corner of the tent floor. The tent body will still be flat on the ground at this point. Now comes the satisfying part: gently bow each pole into its arc and seat the remaining tips. The tent will pop up into its dome shape on its own. If you have a second person helping, one of you can hold one end of a pole while the other seats the far tip. Solo, just work your way around, seating one tip at a time, and the tent goes up fine.
On the 4-person model, thread the short door pole through the small sleeve above the front entrance and clip or pin it in. This firms up the door frame and makes the awning shape that keeps rain off the threshold when you are coming and going.
Step 4: Stake the Corners Before You Do Anything Else
This is the step most people skip, and it is why their tent blows sideways or the floor bunches up under them. Stake all four corners before you put the rainfly on. The tent shape depends on the floor being under tension at the corners. Without stakes, the poles push the corners inward and the dome loses its proper geometry.
The included steel J-stakes work fine for most car-camping conditions. Push them in at a 45-degree angle away from the tent, not straight down. That angle is what holds under outward tension from the tent body. On hard or rocky ground you can tap them with a rock or rubber mallet. The Sundome floor has reinforced stake-out loops at each corner specifically designed for this.
If you know wind is coming, or if you just want peace of mind, add a couple of guy lines to the small loops on the tent body near the mid-point of each wall. The Sundome has these built in. A guy line staked out from each side wall turns a solid tent into a tent that can handle actual weather.
Step 5: Throw the Rainfly and Clip It Down
With the tent body staked and shaped, drape the rainfly over the top. The fly has a defined front and back. The back panel covers more of the tent wall and is designed to shed water off the area with no door. Orient it correctly before you clip anything. I always put mine on with the longer coverage toward the end of the tent where the prevailing wind is likely to hit.
The Sundome rainfly clips to the tent body at several points around the perimeter. Clip all of them. Do not leave one unclipped and tell yourself you will do it later. In the middle of the night when rain starts, you will be very glad every clip is seated. Once clipped, stake out the rainfly corner loops to pull the fly taut and away from the tent body. The air gap between the fly and the tent is what prevents condensation from soaking through the inner mesh walls.
The WeatherTec system on the Sundome includes a bathtub floor, welded corners, and inverted seams on the rainfly. These are the details that actually keep water out in a real storm. But they only work if the fly is fully staked out and taut. A loose fly that sits on the tent body transfers water straight through contact. Keep it off the mesh.
A loose rainfly sitting on the tent body is the number-one reason people wake up wet. Pull it taut, stake it out, and leave an air gap. That is the whole trick.
What Else Helps: The Gear and Habits That Make Setup Faster
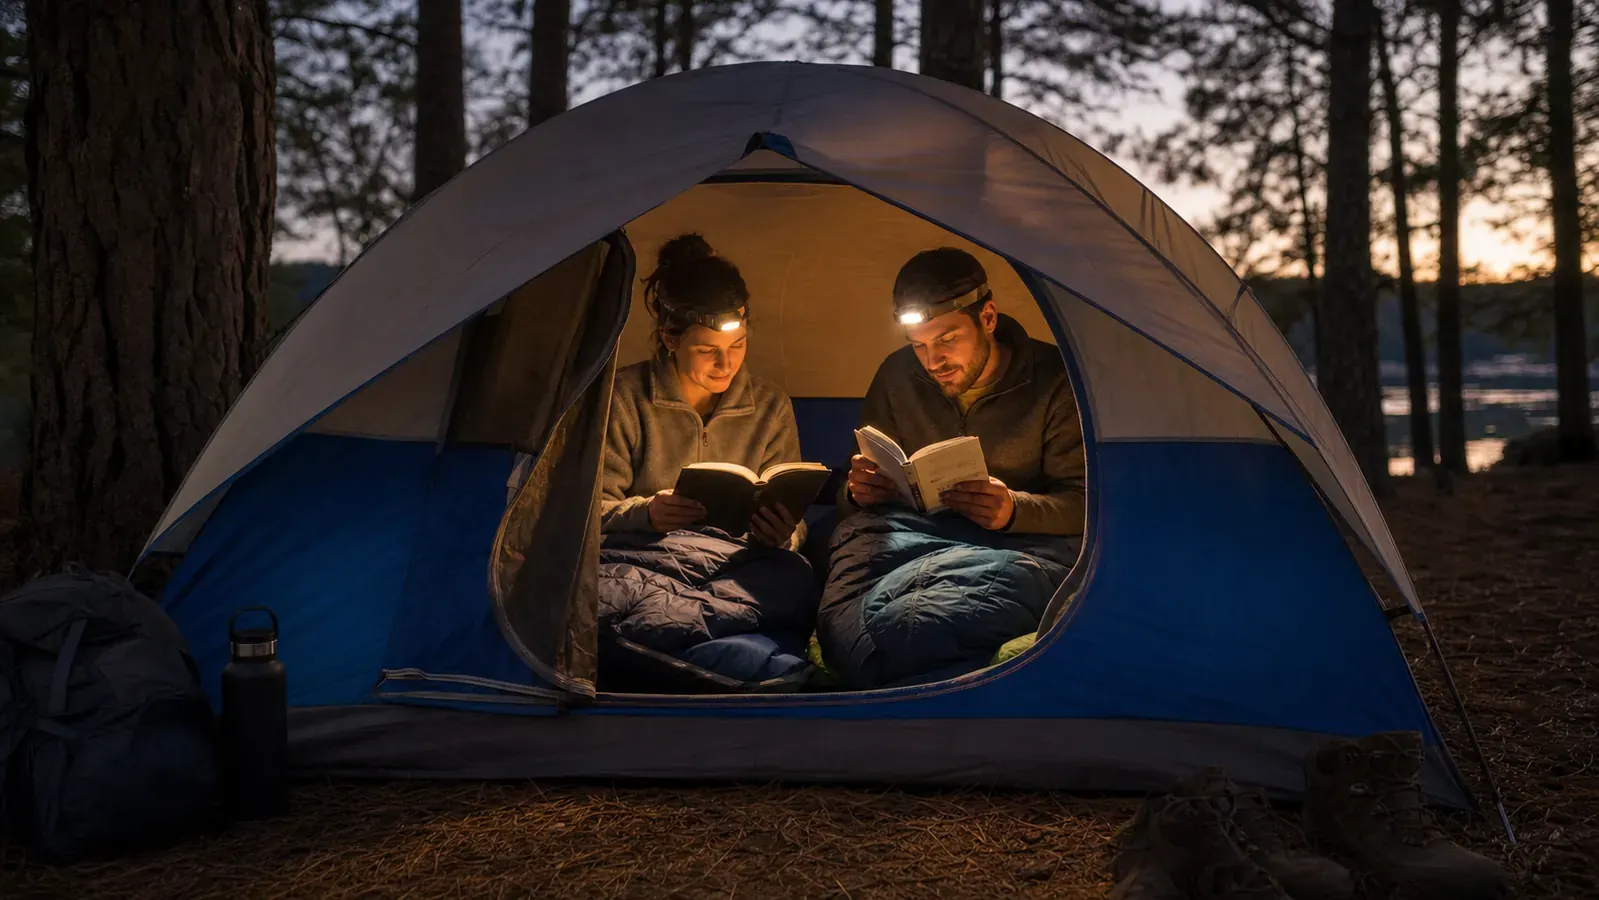
A headlamp changes everything when you arrive after dark. Hands-free light means you can thread poles, seat grommets, and clip fly corners without juggling a flashlight. I keep mine clipped to the tent bag so it is the first thing I grab when I open the kit. It costs less than a restaurant meal and is worth more than most things in my camp kit.
Aftermarket tent stakes make a real difference on rocky or hard-packed ground. The included J-stakes are decent for soft dirt, but on a gravel site or a packed-earth state park pad, they will not go in cleanly. A set of six-inch steel shepherd hook stakes or aluminum V-stakes from a hardware store weigh almost nothing and hold on any surface. I keep eight extras in a small drawstring bag in the tent stuff sack.
If you camp with kids or beginners, walk them through the poles-and-sleeves step once at home. The Sundome is one of the few tents where a complete beginner can genuinely help and not just watch. The color-coded tips and shock-corded poles make it forgiving enough that the 9-year-old can thread a sleeve while you handle stakes. That kind of gear makes a trip more fun for everyone.
For a full look at how the Sundome performs over a full season of camping, including the one thing I would change about it, see the long-term review at the link below. And if you want to hear what happened the night I pitched this tent in 40-mph gusts with three kids asleep in the backseat, that story is worth a read too.
Related: Coleman Sundome Tent Review: Two Years of Weekend Car-Camping With Marcus and How the Coleman Sundome Tent Saved Our First Family Camping Trip.
How Fast Can You Actually Do This?
On my first solo pitch of the Sundome 4-person, not knowing the tent at all, it took me about 18 minutes. By the third or fourth time, I was under 12 minutes including stakes and rainfly. Now, on a clear site with soft ground, I can have a fully pitched and staked Sundome in 8 to 9 minutes. That is not because I am fast. It is because the tent is designed for it and I follow the same sequence every time.
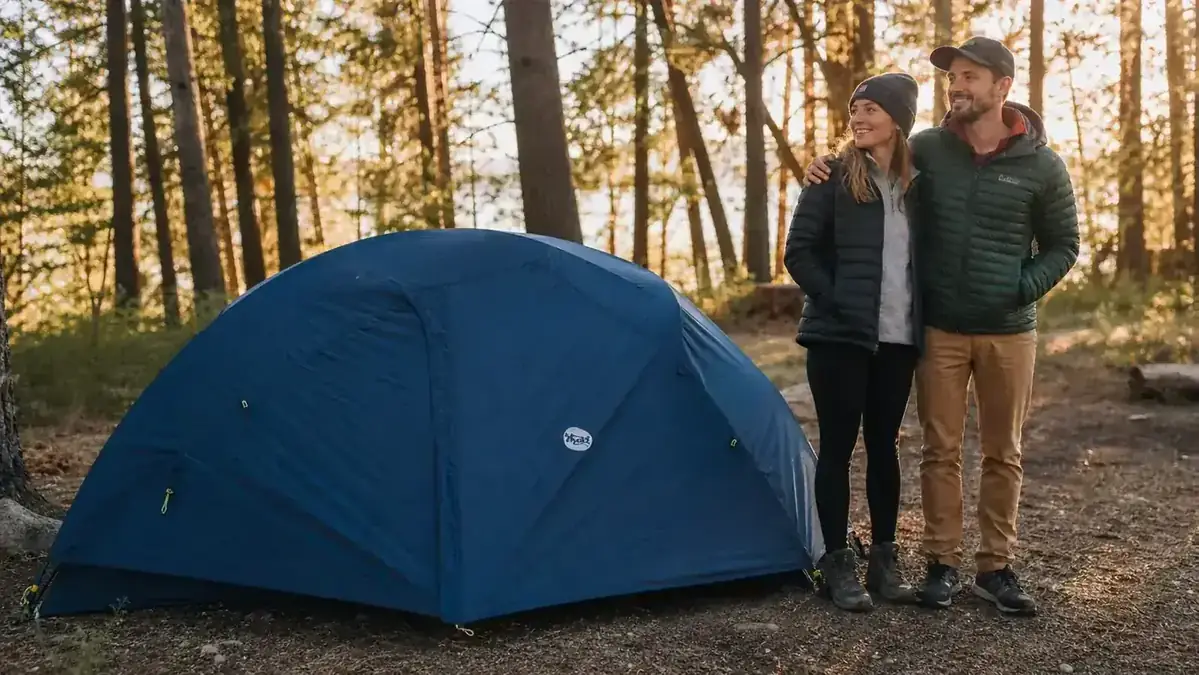
The 2-person and 3-person Sundome are even faster because there is no third door pole to deal with and the tent body is smaller. If you are solo camping or going with one other person, the smaller footprint pitches faster, carries lighter, and still gives you plenty of room if you are not bringing a ton of gear inside.
Coleman rates the Sundome for a 10-minute setup in their own advertising, and that number is real if you have done it once or twice. It is not a marketing exaggeration the way setup times sometimes are. The freestanding dome design with sleeve-and-pin poles genuinely pitches fast compared to a cabin tent or a trekking-pole shelter.
The Coleman Sundome is the fastest tent I have personally pitched at a real campsite.
Nearly 48,000 Amazon reviews and a 4.6-star rating back that up. If you are getting ready for your first camping trip or replacing a tent that has been giving you trouble, this is the one I would hand you.
Amazon Check Today's Price on Amazon →